
 English
 русский
 Español
Input Voltage AC 100-240V 50-60Hz Working Voltage 24V (DC) Working Current 2A(max) Motor Type Brushless Motor No Load Speed 500 - 1350rpm Blade Material Stainless S...
See Details-
Electric Woodworking Saw
-
Multifunctional oscillating Saw
-
Power Drill
-
Rotary Hammer Drill
-
Impact Wrench
-
Electric Screwdriver
-
Angle Grinder

-
Handheld Pressure Washer
-
Handheld Lawn Mower
-
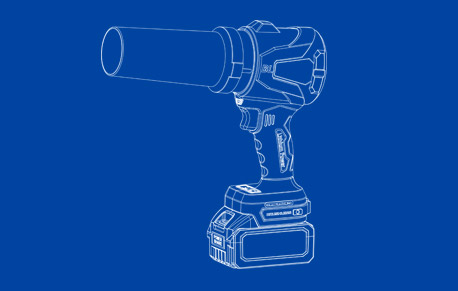
Lithium Turbo Jet Blower
-
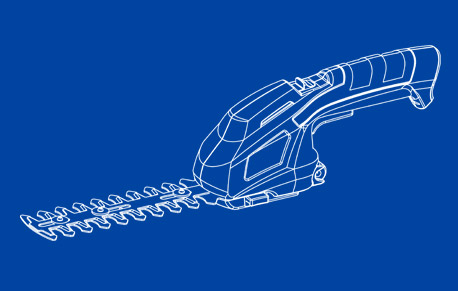
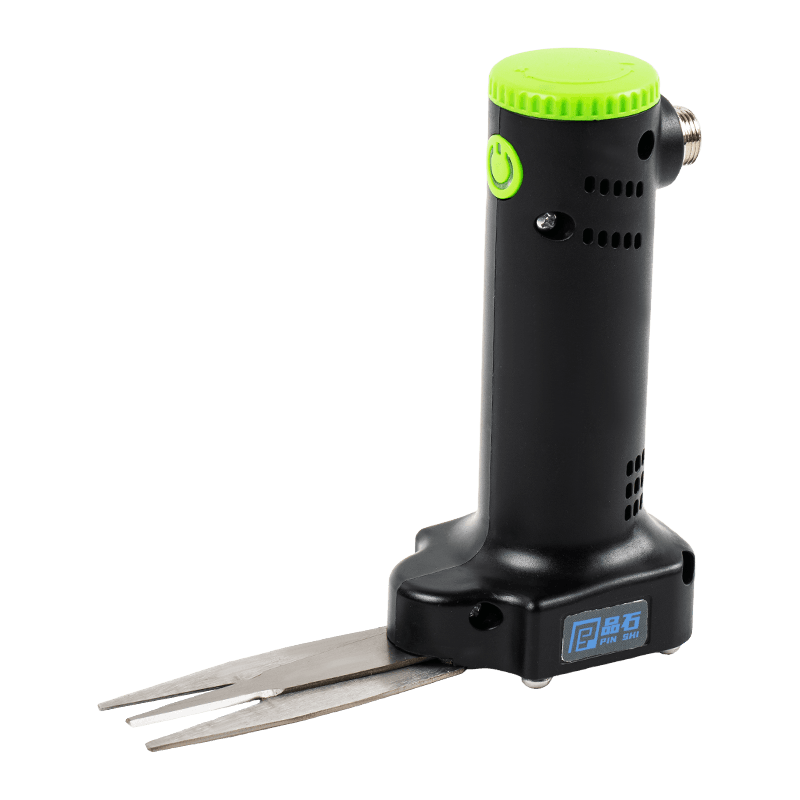
Electric Pruning Shears
-
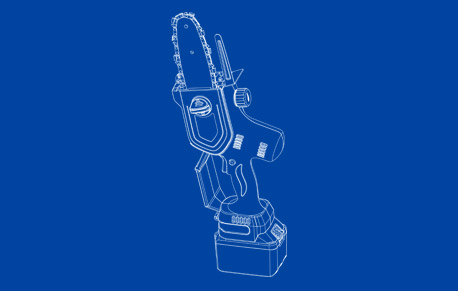
Lithium ChainSaw
-
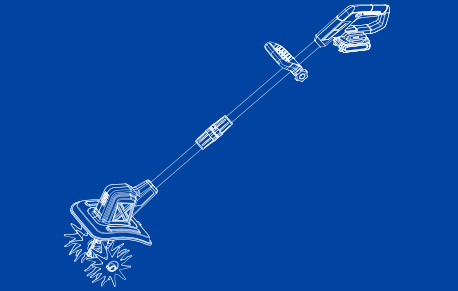
Handheld Tiller Cultivator
-
Plant Watering Devices
-
Air Pump

Author: Admin Date: 2026-10-16
Hole Saw Set Cutting Tool Guide: Sizes, Arbors, TPI, and Buying Criteria
A 2-1/8 inch hole saw that grabs and stalls halfway through a solid-core door is rarely a tooth problem. It is an arbor problem, a pilot-bit problem, or a speed problem. That single point decides everything else when you compare a hole saw set cutting tool on a shelf, in a supplier catalogue, or in a sample box sent by a factory: the mandrel determines what the set can actually do, and the individual cups are simply the parts you wear out and replace.
Practical buyers work backwards from there. They start with the arbor thread and shank that fit the drills already in the van, confirm the pilot drill suits the material on the drawing, and only then decide which diameters belong in the case. A seventeen-piece set with the wrong mandrel is worth less on site than a six-piece set that runs true.
Anatomy of a Set That Survives Real Work
Every set is assembled from the same handful of parts, and the quality of each one shows up inside the first fifty holes.
- Saw cup. Carbon steel cups are inexpensive and short-lived, adequate for softwood trim. Bi-metal cups, made from high-speed steel with a cobalt content, are the working standard for wood, plywood, plastic and sheet metal. Carbide-grit cups have no teeth at all and cut tile, fibre cement and stone.
- Mandrel or arbor. This is the load-bearing part: a threaded boss that carries the cup, a shank that enters the chuck, an arbor nut or quick-change collar, and usually a set screw that holds the pilot. Thread sizes of 1/2 inch-20 and 5/8 inch-18 cover most professional cups, while quick-change collars let an operator swap diameters in seconds.
- Pilot drill. Normally 1/4 inch. High-speed steel pilots handle wood and metal; carbide-tipped pilots are for tile and masonry. A pilot that is shorter than the cup's depth is a common and irritating defect, because it lets the cup wander before the teeth bite.
- Ejection spring or slug collar. Simple, cheap, and the first component to go missing from a set.
- Adaptor and hex key. These matter whenever a set mixes cups from different arbor families.
- Case. Not cosmetic. Loose cups rattling in a bag knock their teeth flat against one another and lose set before the first cut.
Two arbor families dominate the market. The traditional threaded arbor holds one cup at a time and costs less. The quick-change arbor locks cups onto a hex shank and is worth the premium for anyone drilling more than two diameters in a working day.
Matching the Arbor Shank to the Host Tool
Hole saws are driven by the drill, and the drill sets the ceiling on diameter and material. Chuck size, low gear, clutch setting and side handle are the variables that decide whether a 3 inch cup in steel is routine work or an accident waiting to happen.
| Host tool | Arbor shank | Typical chuck | Practical note |
|---|---|---|---|
| Corded drill | 7/16 inch hex or 3/8 inch round | 1/2 inch keyed chuck | Best control for cups above 2 inches; fit the auxiliary handle |
| Cordless drill, 20V class | 1/4 inch hex quick-change | Keyless 3/8 or 1/2 inch | Use first gear and a mid clutch setting; keep out of impact mode |
| Rotary hammer | SDS-Plus arbor | SDS-Plus holder | For brick, block and aerated concrete; hammer action off when starting |
| Drill press | Round shank, no hex | 1/2 inch chuck | Clamp the workpiece; run low speed and clear chips often |
| Impact driver | Not compatible | 1/4 inch hex | Hammer action destroys pilot bits, threads and cup concentricity |
Torque, not free-running speed, is what drives a large cup. A cordless drill in first gear with the clutch set mid-range gives more usable control than the same tool in high gear, because the cut needs steady pressure at low revolutions. Above 2 inches in metal, use a corded drill with a 1/2 inch chuck and the side handle fitted, or a drill press with the workpiece clamped down.
Pitch, Material and Surface Speed
Tooth pitch is the specification that buyers read least and feel most. Coarse teeth clear chips quickly in soft material; fine teeth leave a cleaner wall in thin metal but clog in resinous timber. Variable pitch, usually marked 4/6 TPI, alternates the two and is the single upgrade most worth paying for in a bi-metal set.
| Material | Typical pitch | Speed and feed | Watch out for |
|---|---|---|---|
| Softwood, plywood, MDF | 4/6 TPI bi-metal | 500 to 1,000 rpm, steady feed | Exit-side tear-out; back the work with scrap |
| Mild steel sheet and tube | 10 to 14 TPI bi-metal | 150 to 350 rpm with cutting fluid | Heat and tooth stripping; lift slightly to clear chips |
| Stainless steel | 14 TPI cobalt bi-metal | 100 to 200 rpm, firm constant pressure | Work hardening; never let the teeth rub in place |
| PVC and plastics | 6 to 10 TPI bi-metal | 400 to 800 rpm, frequent retraction | Melted chips welding into the gullets |
| Porcelain tile, fibre cement | Carbide grit, no teeth | Low rpm with water cooling | Pilot drift; start on a template, not on the glaze |
| Brick, block, aerated concrete | Carbide-tipped cup | Low rpm, dust extraction | Grit that ruins wood blades on the next job |
Speed discipline is where most sets die early. A cup run at wood speed through stainless steel will dull in one hole, and a dull cup does not cut, it rubs, heats and work-hardens the surface underneath.
Set Composition: Sizes, Depths and Extensions
The diameters in a case should follow the work, not the marketing. Common sizes climb in eighths and quarters: 3/4, 7/8, 1, 1-1/8, 1-1/4, 1-3/8, 1-1/2, 1-3/4, 2, 2-1/8, 2-1/2, 3, 3-1/2, 4 and 4-1/4 inches. The practical middle of that range covers most trade tasks.
- Door-lock kits pair a 2-1/8 inch bore cup with a 1 inch latch cup, which is why lock fitters buy kits rather than general sets.
- Electrical work centres on 3-1/2 inch and 4-1/8 inch cups for round boxes and recessed fittings.
- Plumbing and pipework often needs 1-3/8 inch or 1-3/4 inch for supply and waste runs.
- An 8-piece set suits occasional use, a 12 to 17-piece set suits a fit-out crew, and a 20-piece case usually means the buyer paid for two sizes they will never fit.
Depth matters as much as diameter. Standard cups cut roughly 1-1/2 to 1-7/8 inches deep, deep-cut versions reach 2-3/8 inches, and extensions add reach for stud walls and double-skinned panels. A cup that bottoms out mid-wall leaves the operator prying the slug free, which is when teeth break.
A set is a system, not a collection. Cup, arbor, pilot and drill are matched to one another, so replacing any single element changes the quality of the cut.
Common Failure Modes and How to Avoid Them
Most complaints about hole saws trace back to five situations: the pilot walking off-centre, teeth burning instead of cutting, the slug jamming inside the cup, the arbor thread stripping, and the mandrel running out of true so the hole comes out oversized. Each has a straightforward fix.
- Pilot wander. Centre-punch the mark, or clamp a scrap template board over the workpiece and drill through it.
- Burning. Reduce speed and feed rate, add cutting fluid or a drop of oil, and retract the cup to clear chips every few seconds.
- Stuck slug. Use a cup with an ejection spring, and never lever the slug out with a screwdriver blade against the tooth set.
- Stripped arbor thread. Cross-threading on a quick-change collar is usually caused by forcing a cup on with debris in the thread.
- Runout. A bent pilot or a worn arbor bushing produces an oval hole long before the teeth show any wear.
Warning: Cups of 3 inches and above in metal can grab violently and spin the whole drill. Fit the side handle, keep both feet planted, and never start a large cup at high rpm.
Danger: If a cup seizes in the work, release the trigger and let the tool stop completely before touching anything. Hands are not slug removers, and a bound cup can hold surprising stored torque.
Procurement Notes for Importers and Distributors
Buying a hole saw programme is a specification exercise rather than a price exercise. Two suppliers can quote the same 13-piece case with bi-metal cups and still deliver completely different products, depending on thread standard, cup wall thickness, pilot length and whether the arbor is hardened after machining.
- Confirm the arbor thread standard and state it on the purchase order, because 1/2 inch-20 and 5/8 inch-18 cups are not interchangeable.
- Ask for the tooth pitch and material of every cup in the case, not just the largest one.
- Check whether cups are available separately, since a channel customer replaces one or two sizes far more often than a whole set.
- Request spare pilot drills in the same shipment; they are high-wear consumables and cheap to add.
- Test a sample with the host tools your market actually uses, including a cordless drill in first gear.
Info: For European channels, ask for the GS, CE and EMC documentation covering the host tools and any powered accessories in the offer. Compliance paperwork that arrives late will delay a container, and it is standard practice for established manufacturers in this category to hold it.
Success: A simple incoming test settles most arguments. Drill fifty 2 inch holes in 18 mm plywood with a fixed speed and pressure, then measure hole diameter, check for pilot drift and inspect the tooth set. A set that still cuts cleanly at hole fifty is a set worth listing.
Keeping a Set Working
Hole saws are consumables with a maintenance habit attached. Clear chips as soon as the gullets fill, use cutting fluid on every metal cut regardless of how short it is, and store cups with their arbor attached so threads and pilots are not loose in the case. Replace pilot drills when the tip dulls rather than sharpening them at home, and retire cups as soon as they need pressure to cut. A dull cup costs more in time and drill wear than a new one costs on the shelf.
The set that performs is the one whose arbor matches the drill, whose pilot matches the material, and whose pitch matches the thickness of what you are cutting. Diameter count is the last decision, not the first. Get the mandrel, the shank and the thread right, add the sizes your work actually calls for, and the teeth will look after themselves.

-
Feedback
Related Products
-
-
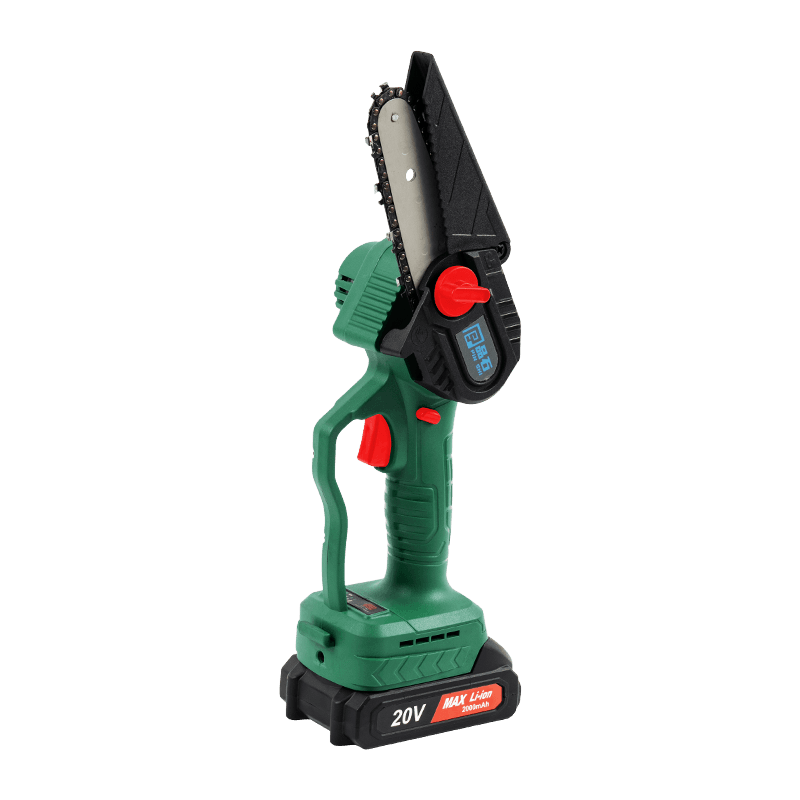
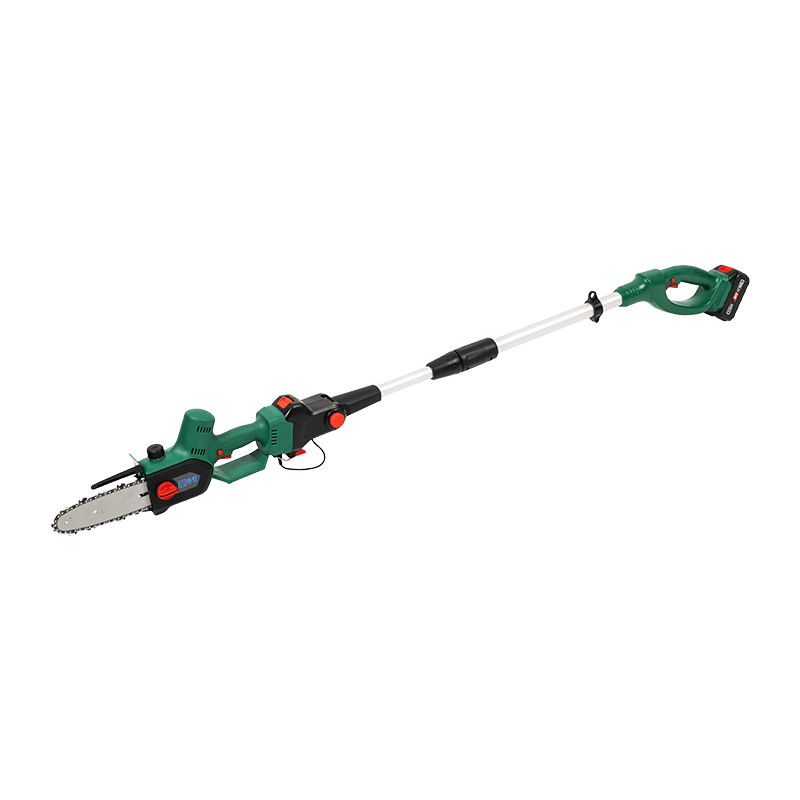
Voltage 20V (DC) Battery capacity 1.5Ah/2.0Ah/3.0Ah Motor type Brushless motor Velocity 6m/s Chain type / Pitch / Gage 6.35 mm (0.25") / 1.1 mm (0.043") Bar length ...
See Details -
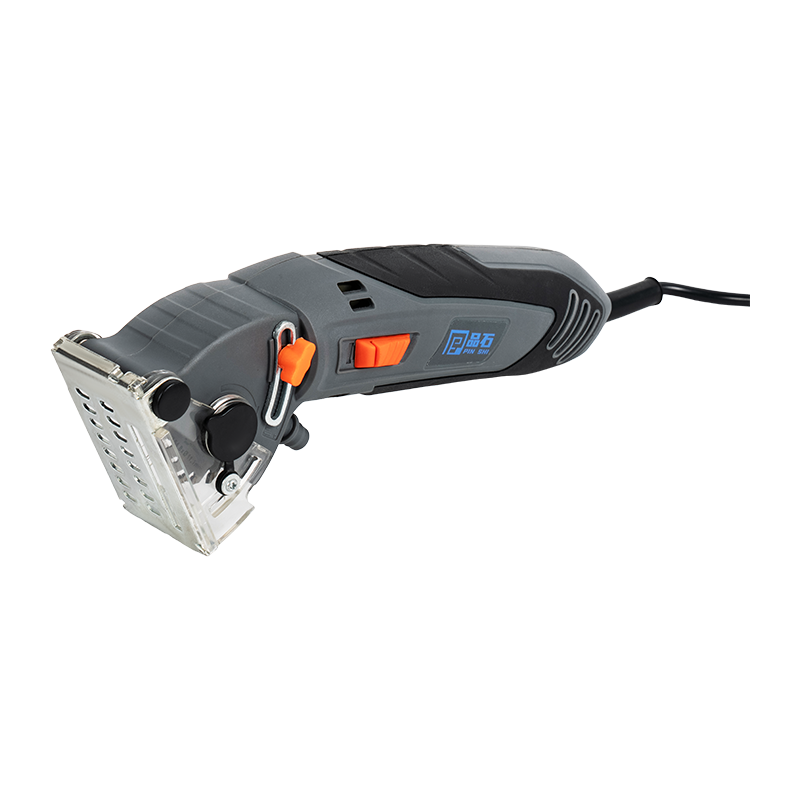
Constant speed Voltage 20V (DC) Battery capacity 4.0Ah/6.0Ah Motor type Brushless motor No-loading time >40mins Velocity 6.8m/s Chain type / Pitch / Gage 91V...
See Details -
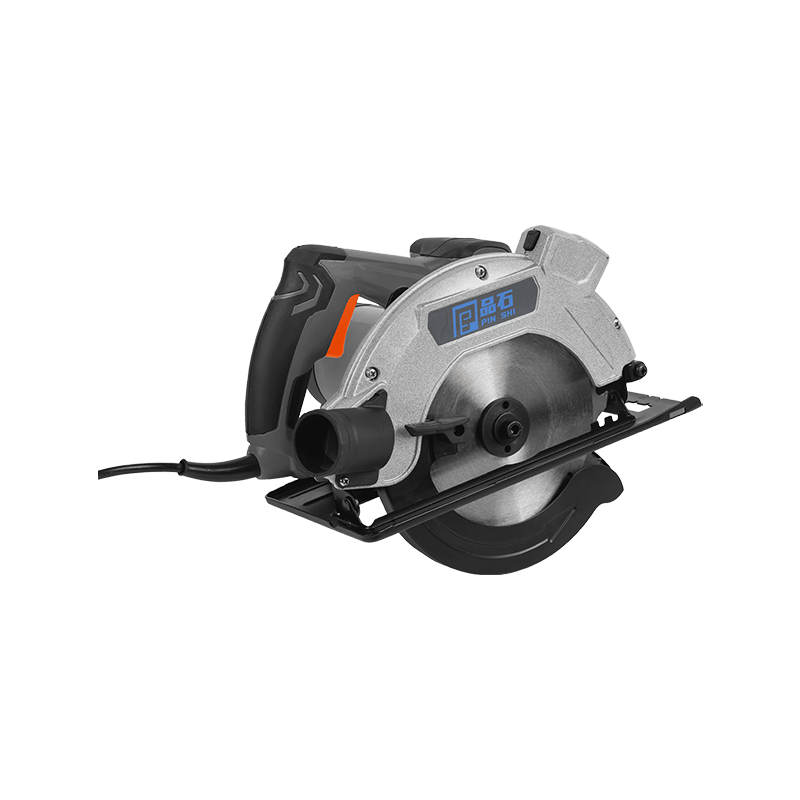
Input voltage(V) 230V/120V Mains frequency (Hz) 50Hz/60Hz Input power(W) 400W No-loading speed 3700rpm Cutting depth 0-12mm Blade diameter 54.8 mm Blade m...
See Details -
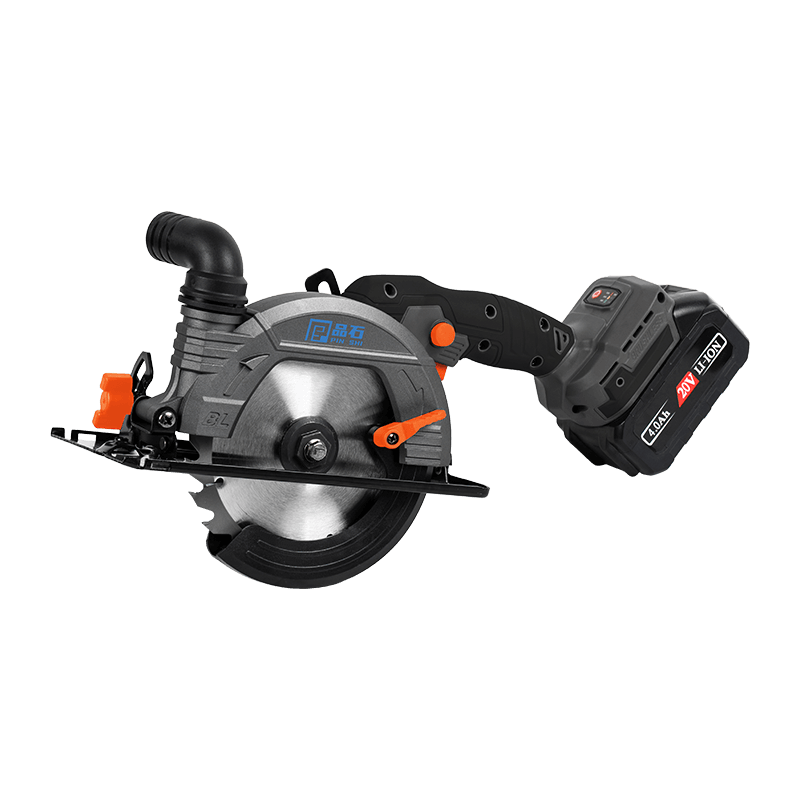
Input voltage(V) 230V/120V Mains frequency (Hz) 50Hz/60Hz Input power(W) 1200W No-loading speed 4800rpm Cutting depth 45°-43mm /90°-65mm Blade diameter 185mm ...
See Details -
Voltage 20V (DC) Battery capacity 3.0Ah/4.0Ah Motor type Brushless motor No-loading speed 4800rpm Cutting depth 45°-40mm /90°-55mm Blade diameter 150mm Blade mo...
See Details
Related News
-
In the rapidly evolving landscape of construction, automotive repair, and industrial assembly, one tool has consistently stood out as the backbone of ...
READ MORE -
What Exactly Is an Electric Screwdriver Today? The shifting meaning of "electric screwdriver" in modern tool ecosystems The term "electric screwdriver...
READ MORE -
Impact Wrench: Definition and Core Working Principle The Impact Wrench, often referred to in industrial circles as an air gun, air wrench, or electric...
READ MORE
-
LINK
-
product
-
Quick Contact
-
 Building 1, Floor 1, Industrial Zone, Zhongyi Village, Guolin Town, Haishu District, Ningbo City, Zhejiang Province, China
-
 +86-13906619096
-
 Michael@chinashimu.com
-
KEEP IN TOUCH
Copyright© Ningbo Pinshi Electromechanical Co., LTD.
