
 English
 русский
 Español
Input Voltage AC 100-240V 50-60Hz Working Voltage 24V (DC) Working Current 2A(max) Motor Type Brushless Motor No Load Speed 500 - 1350rpm Blade Material Stainless S...
See Details-
Electric Woodworking Saw
-
Multifunctional oscillating Saw
-
Power Drill
-
Rotary Hammer Drill
-
Impact Wrench
-
Electric Screwdriver
-
Angle Grinder

-
Handheld Pressure Washer
-
Handheld Lawn Mower
-
Lithium Turbo Jet Blower

-
Electric Pruning Shears
-
Lithium ChainSaw

-
Handheld Tiller Cultivator
-
Plant Watering Devices
-
Air Pump

Author: Admin Date: 2026-10-26
how do you cut pvc pipe: Applications, Selection Criteria, and Practical Guidance
Power Tool Field Guide
How to Cut PVC Pipe Without Splitting, Melting, or Fumbling
The cleanest cuts on schedule 40 and thin-wall pipe come from matching the saw to the situation and taking your time with the setup.
You are replacing a leaking p-trap under a sink, running a new watering line in a greenhouse, or trimming a dozen stubs in a roof space. In all three cases, the job comes down to one moment: the cut. Use the wrong blade, cut without support, or rush through the last millimeters, and you will spend the afternoon making a second trip to the hardware store.
Here is the conclusion upfront: a compact reciprocating saw with a fine-tooth blade is the most versatile all-around choice. A mini circular saw produces the straightest ends on long runs. An oscillating multi-tool is the best option when the pipe is already installed in a tight space. And every method ends with deburring, because a burr is what turns a good joint into a slow leak.
Choose the Right Tool Before You Touch the Blade
The best tool depends on four things: pipe diameter, space, number of cuts, and whether the pipe is already fixed in place. Matching the tool to those conditions matters more than blade brand or motor power.
| Tool | Best for | Cut quality | Notes |
|---|---|---|---|
| Hand saw, 10 TPI | A few cuts without power | Clean if guided | Slow on long runs; use a square or fence |
| Reciprocating saw, 10-14 TPI | Open areas, multiple cuts | Good to very good | Support the pipe and let the blade cut at its own pace |
| Mini circular saw | Long runs, straight ends | Excellent | Set depth slightly deeper than the pipe wall |
| Oscillating multi-tool | Cuts in place, flush to walls | Good | Slow but precise and nearly vibration-free |
| Pipe cutter | Small diameters in accessible spots | Excellent on thin wall | Can deform thick schedule 40 if overtightened |
| Angle grinder | Emergency demolition | Poor | Heat softens PVC and melts the cut edge; last resort |
If you cut PVC only once or twice a year, a hand saw or a pipe cutter is enough. If you are fitting out a workshop, laundry room, or garden irrigation system, a cordless saw on a shared battery platform will save more time than any other upgrade.
Cutting with a Reciprocating Saw: Support, Blade, and Speed
A reciprocating saw cuts PVC quickly, but the result depends almost entirely on the blade and the clamping, not on the saw itself. Use a blade labeled for plastic, keep the strokes controlled, and press the shoe firmly against the pipe.
- Measure and mark the cut line completely around the pipe with a pencil and a small square.
- Clamp the pipe a few centimeters behind the cut line. Protect thin-wall pipe with small wooden blocks under the jaws so it does not crush.
- Choose a 10 to 14 TPI blade for plastic. Avoid demolition blades with large teeth that chip the edge.
- Start at low speed if your saw has a variable-speed trigger, then push slowly into the rotation direction.
- Let the teeth cut without force. Pushing hard creates friction, and friction melts PVC.
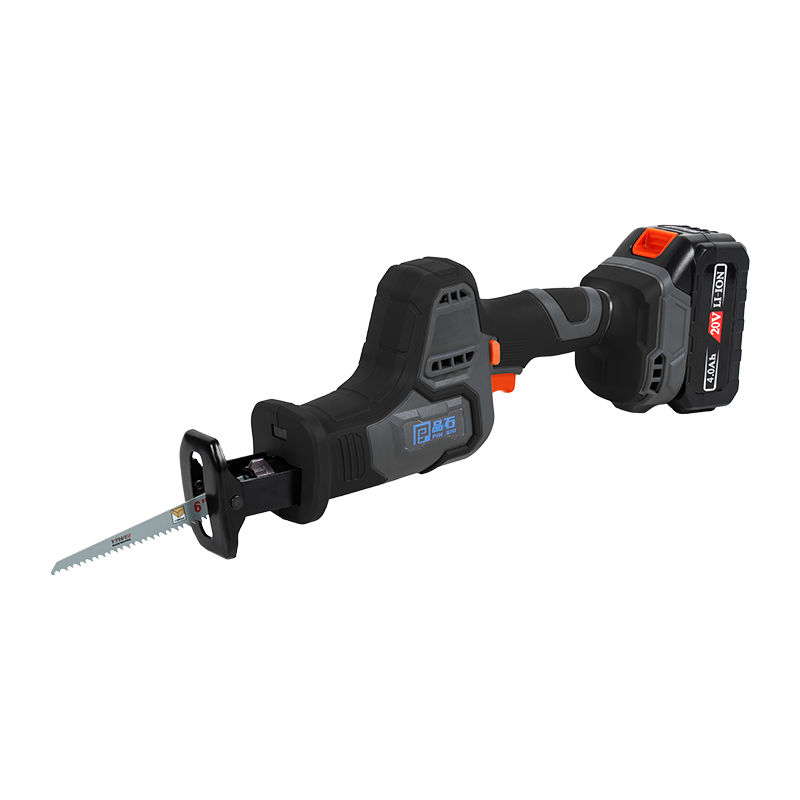 20V Compact Reciprocating Saw for Pipe CuttingThis cordless saw pairs a compact frame with a brushless motor, making it ideal for steadying PVC cuts in tight crawl spaces. It shares the 20V battery platform.View Product →
For this kind of work, the 20V compact reciprocating saw in the PS Power catalog is a natural fit. The compact body keeps the blade aligned while your other hand steadies the pipe, and it shares a battery system with the rest of the 20V cordless tools, so there is no wiring to manage in a crawl space.
If the saw starts to bind or you feel heat near the cut, stop immediately, pull the blade back, and let it spin down. Melted PVC cannot form a reliable solvent bond, because a glue joint needs a rough surface and a precise fit, not a glossy, deformed one.
Straight Cuts in a Row: The Mini Circular Saw Method
When you need several pieces at the same length, a mini circular saw is the fastest way to get clean, square ends. The key is the depth setting: cut only slightly deeper than the pipe wall.
- Set the blade depth so it extends about three millimeters beyond the pipe wall.
- Mark the line around the pipe, and where possible clamp or bundle the pipes on a flat surface.
- Run the saw along a straight edge, rolling the pipe toward you as the blade advances.
- Stop before the kerf closes, then finish with one light pass from the other side.
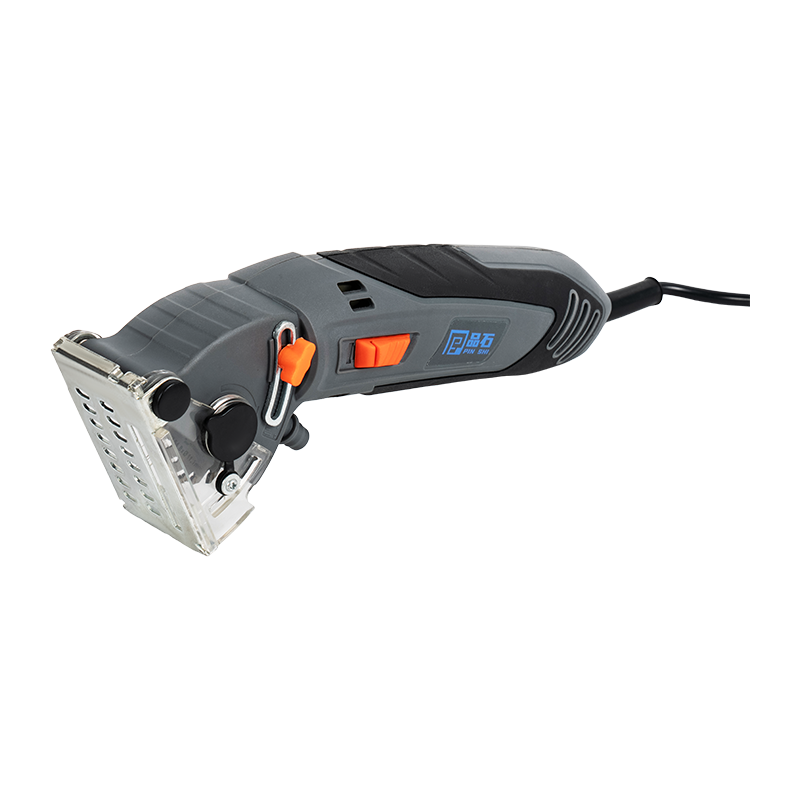 400W Mini Circular Saw for Clean Pipe EndsA lightweight mini saw with adjustable depth and multiple blades ensures clean square cuts on pipes. Its stable shoe helps follow curved lines without wobbling.View Product →
A 400W mini circular saw from PS Power has a small shoe that sits flat on the pipe, so the blade follows the marked line without wobbling. A full-size circular saw also works for large diameters, but its wider kerf wastes material and is harder to guide on a curved surface.
Do not start a circular saw on the middle of a round pipe. The blade must enter from the end or from the top with the shoe flat. A sideways start can catch the pipe wall, yank the saw, and cut the pipe oval instead of square.
Reaching Tight Spaces with an Oscillating Multi-Tool
For a pipe glued into a wall chase, tucked behind a toilet, or running flush against a joist, the saw you cannot fit is useless. An oscillating multi-tool cuts in place with a shallow, vibrating blade and produces almost no dust or flying chips.
Start with the blade at a low angle on top of the pipe, let the vibration open a slot, then rotate the tool along the marked line. The cut is slower than a reciprocating saw, but it is much safer in a confined space because the blade only reaches as deep as its length.
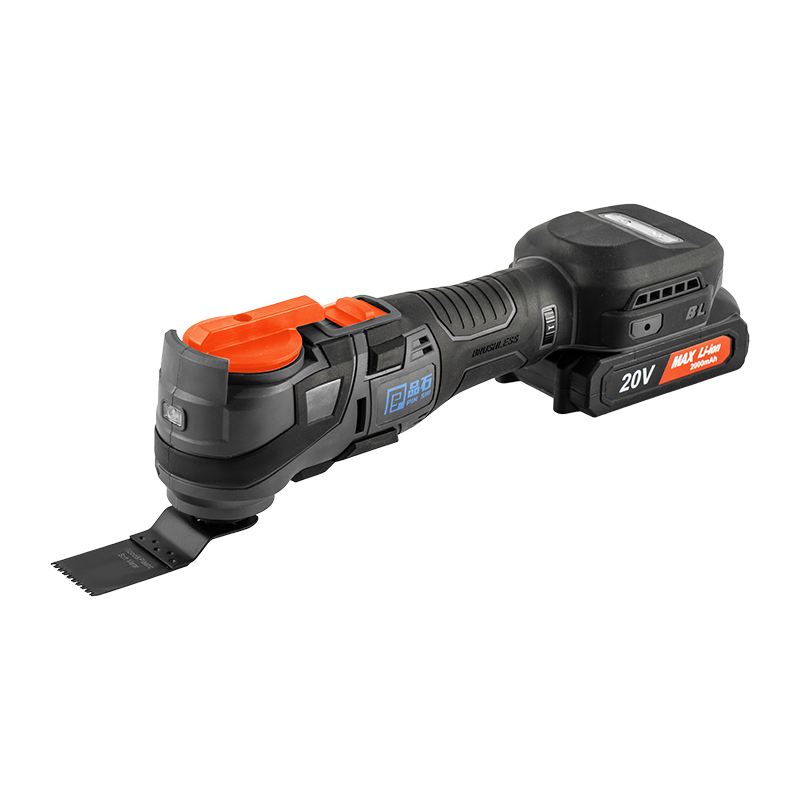 20V Brushless Quickin Multi-Function Tool● The gear is equipped with a large oscillation angle of 2° on both sides, which supports fast sawing, cutting, grinding and scraping.View Product →
The 20V brushless Quickin multi-function tool from PS Power brings this cutting ability together with a quick blade change, so you can move from a wood blade to a flush-cutting blade without putting the tool down. This is also where brushless cordless platform trends matter in practice: a brushless motor keeps speed under load, which keeps the blade working through plastic instead of stalling.
An oscillating tool is the right choice for cutting out a damaged section of an installed pipe. You do not need to remove the whole run: slice out the bad ring, slide in a coupling, and continue.
The Hand Pipe Cutter Still Has a Place
For small-diameter PVC, such as 3/4-inch or 1-inch supply lines in an accessible spot, a hand pipe cutter is quiet, inexpensive, and leaves almost no burr. You tighten the wheel around the pipe, rotate the cutter, tighten again, and repeat until the pipe separates.
The limitation is wall thickness. On schedule 40 pipe, an aggressive cutter wheel can compress the wall and leave a raised ridge inside the bore, which is exactly the kind of defect that shows up as a leak later. Turn the cutter slowly, tighten only a little at a time, and still finish the inside edge with a deburring tool.
Measure, Mark, and Deburr Like a Pro
Most failed PVC joints are not caused by bad cement; they are caused by a cut that is not square, not clean, or not deburred. Two minutes of preparation saves a much longer cleanup later.
- Measure twice and mark the exact length, then wrap a strip of paper or tape around the pipe to draw a square reference ring.
- Use a pencil or scribe, not a felt-tip pen that can leave a solvent-resistant film.
- Deburr the outside with a utility knife and the inside with a deburring tool or the tip of a file.
- Dry-fit the pipe and fitting before applying solvent cement; the pipe should seat halfway, not bottom out.
The cleanest cut you will ever make is the one you measure twice and check with a dry fit before the glue comes out of the can.
After deburring, wipe the pipe end with a dry cloth. A smooth, dust-free surface lets the solvent cement bond to the pipe itself instead of to a layer of PVC powder and shavings.
Mistakes That Turn a Simple Cut into a Mess
Nearly every bad PVC cut traces back to one of six habits. Avoid them and the rest of the job feels easier.
- Using a coarse wood blade that chips the edge instead of slicing it cleanly.
- Pressing hard on the saw, which creates heat and melted shavings inside the kerf.
- Cutting a pipe that is not supported, so the blade binds and the cut runs off line.
- Skipping the deburr step because the cut looks close enough.
- Starting a blade in the middle of the pipe when the saw needs a flat entry point.
- Cutting too close to a fitting, leaving no room for the coupling to slide on.
If you notice one of these mistakes early, stop. A hacksaw and a file can rescue most errors; a melted or split pipe end cannot be glued back together.
Wrap-Up: Match the Saw to the Situation
The honest answer to "how do you cut PVC pipe" is that you have already chosen the right tool the moment you think about location, diameter, and the number of cuts you need. For most jobs, that tool is a compact reciprocating saw with a fine plastic blade. Use a mini circular saw when you are converting a bundle of long pipes into a stack of identical stubs, and an oscillating multi-tool when the pipe is installed where nothing else reaches. Keep a hand pipe cutter around for small, accessible lines.
Whatever you pick, the routine stays the same: clamp, mark around the pipe, cut with a plastic-rated blade, deburr, and dry-fit before gluing. A square, burr-free end is the whole secret, and the saw you own matters far less than how you set up the work.

-
Feedback
Related Products
-
-
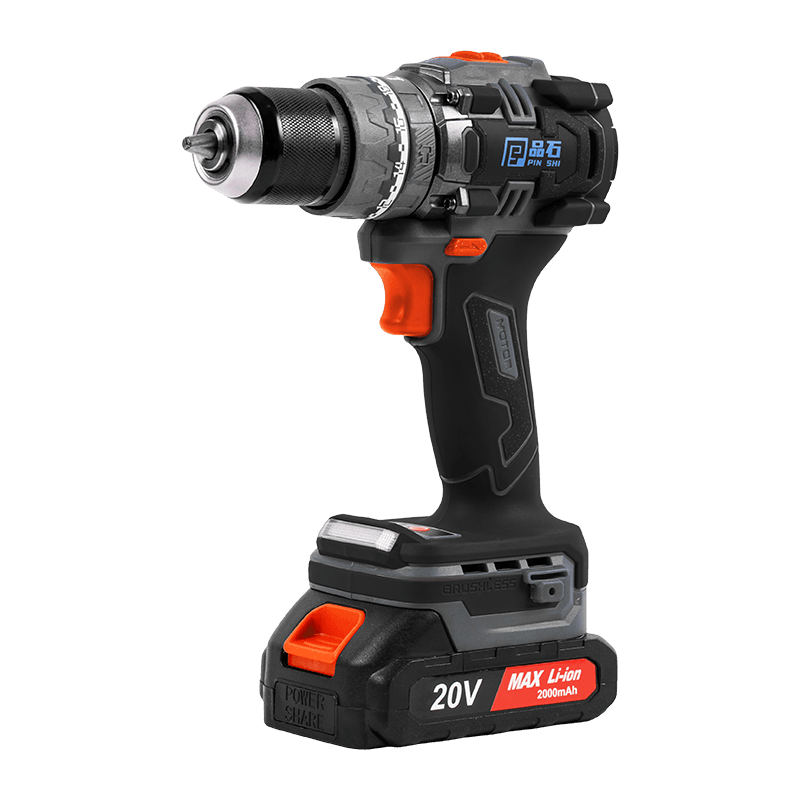
Voltage 20V (DC) Battery capacity 1.5Ah/2.0Ah Motor type Brushless motor Two speed 0-450rpm/0-1900rpm Max.Impact rate 0-6750bpm /0-28500bpm Chuck capacity 10mm ...
See Details -
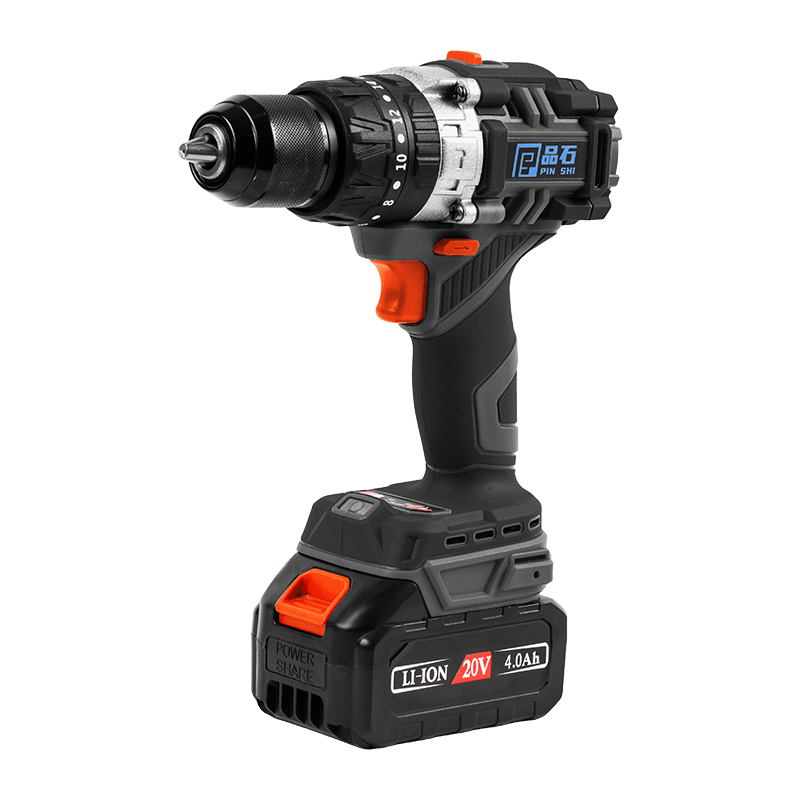
Voltage 20V (DC) Battery capacity 2.0Ah/3.0Ah/4.0Ah Motor type Brushless motor Two speed 0-550rpm/0-1900rpm Max.Impact rate 0-8250bpm /0-28500bpm Chuck capacity 13...
See Details
Related News
-
In the rapidly evolving landscape of construction, automotive repair, and industrial assembly, one tool has consistently stood out as the backbone of ...
READ MORE -
What Exactly Is an Electric Screwdriver Today? The shifting meaning of "electric screwdriver" in modern tool ecosystems The term "electric screwdriver...
READ MORE -
Impact Wrench: Definition and Core Working Principle The Impact Wrench, often referred to in industrial circles as an air gun, air wrench, or electric...
READ MORE
-
LINK
-
product
-
Quick Contact
-
 Building 1, Floor 1, Industrial Zone, Zhongyi Village, Guolin Town, Haishu District, Ningbo City, Zhejiang Province, China
-
 +86-13906619096
-
 Michael@chinashimu.com
-
KEEP IN TOUCH
Copyright© Ningbo Pinshi Electromechanical Co., LTD.
