
 English
 русский
 Español
Voltage 20V (DC) Battery capacity 3.0Ah/4.0Ah Motor type Brushless motor No-loading speed 4800rpm Cutting depth 45°-40mm /90°-55mm Blade diameter 150mm Blade mo...
See Details-
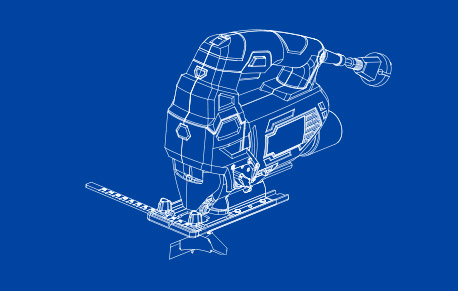
Electric Woodworking Saw
-
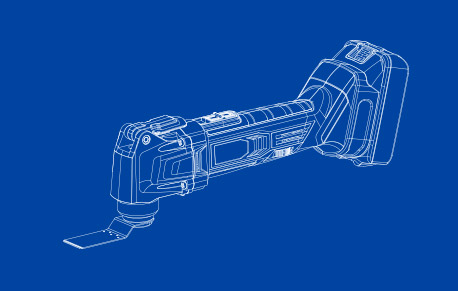
Multifunctional oscillating Saw
-
Power Drill

-
Rotary Hammer Drill

-
Impact Wrench

-
Electric Screwdriver

-
Angle Grinder

-
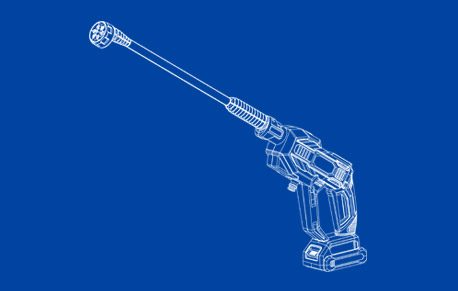
Handheld Pressure Washer
-
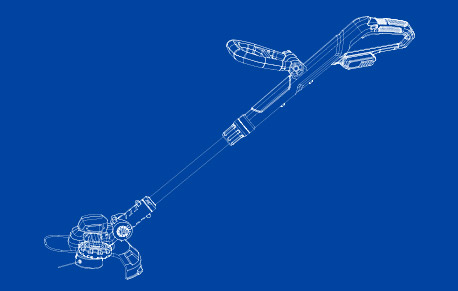
Handheld Lawn Mower
-
Lithium Turbo Jet Blower

-
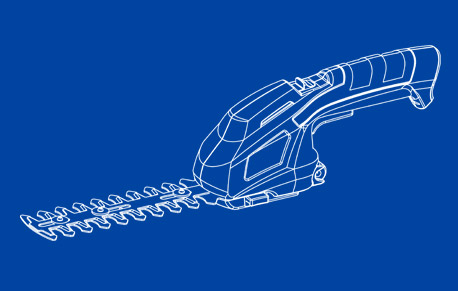
Electric Pruning Shears
-
Lithium ChainSaw

-
Handheld Tiller Cultivator

-
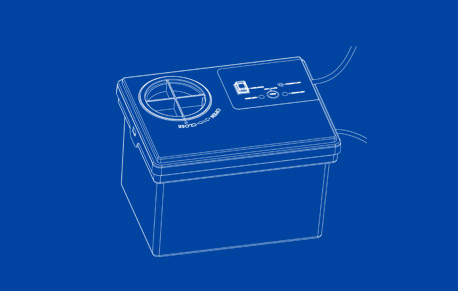
Plant Watering Devices
-
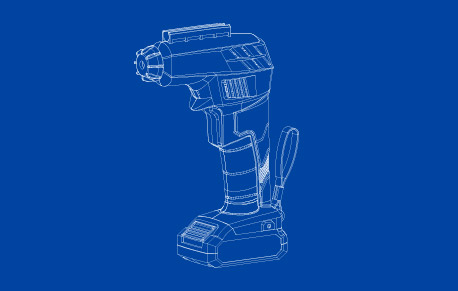
Air Pump

Author: Admin Date: 2026-11-02
Miter Cuts With a Circular Saw: A Practical, Shop-Tested Guide for Clean Angles
Workshop Notes / Cutting
Miter Cuts With a Circular Saw: Precision Without the Extra Saw
A calm, shop-tested guide to setting up, marking, and cutting clean angles with the saw you already own.
Yes, a Circular Saw Can Cut Miters: The Honest Answer
A miter cut is an angled crosscut across the face of a board. The blade stays vertical; the saw travels at an angle to the reference edge. That distinction matters because a circular saw has no built-in miter table. You create the angle with layout, a guide, and a steady hand. We have cut plenty of trim this way on site, and it remains one of the most useful skills to build.
The caveat is honest: a circular saw will not replace a miter saw for production work. It will, however, make accurate miters on trim, shelving, deck boards, and modest timber when the setup is treated as part of the cut. If you are comparing body grip and base stiffness, our handheld circular saw range is a useful place to start.
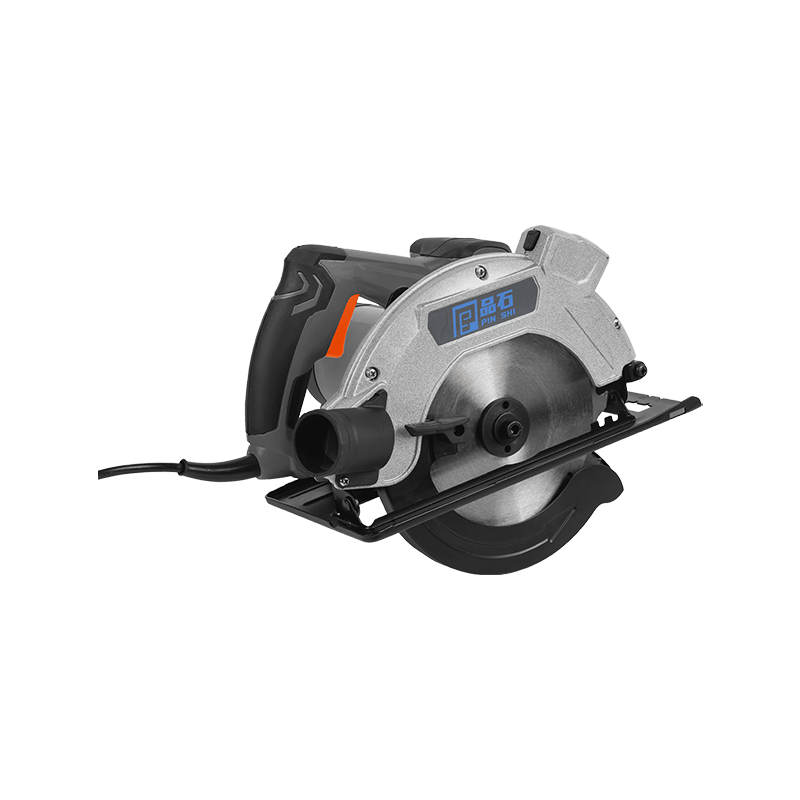 1200W Corded Circular Saw with Laser Guide and Dust PortA 1200W, 4800 RPM saw with laser guide, dust port, selectable gears and 65 mm depth at 90° for trim and deck cuts.View Product →
Quick distinction: a miter changes the angle across the face of the board. A bevel tilts the blade through the thickness. Simple miters can be cut with the saw flat on the work and the base guided at an angle.
What a Miter Cut Really Means on a Circular Saw
Miter and bevel are often used loosely in conversation. In the shop they are different moves. A miter is set out on the face of the board; a bevel is set by tilting the saw base. A compound cut combines both. For most circular-saw work, the base stays flat and the guide line carries the angle.
| Cut type | Reference | Saw setting | Typical use |
|---|---|---|---|
| Square crosscut | 90 degrees to edge | Base square, blade at 0 degrees | Framing, shelves |
| Simple miter | Angled line across face | Base guided at angle, blade vertical | Trim, picture frames |
| Bevel | Angled through thickness | Blade tilted, base square | Chamfers, sloped joints |
| Compound | Face angle plus tilt | Guide at angle plus blade bevel | Crown molding, complex trim |
For a simple miter, mark the angle on the face and keep the blade square to the base. The saw does not need to know the angle; the guide does.
The Setup That Makes the Cut Repeatable
A circular saw cuts what the guide allows it to cut. If the guide shifts, the angle shifts. Before the blade touches wood, build a reference edge that will not move and support both sides of the cut. This is the quiet work that makes the cut look easy.
“The saw does not know the angle. The guide does.”
- Check the base. Unplug the saw or remove the battery. Confirm the blade is square to the base and the bevel lock is tight.
- Mark clearly. Use a sharp pencil or a knife line. Mark the angle from the reference edge, not from the waste side.
- Clamp a straight edge. A level, a straight board, or a speed square can act as a fence. Clamp both ends.
- Allow for base offset. Measure from the blade to the outer edge of the saw base. Offset the guide by that distance.
- Support the offcut. A trapped offcut can pinch the blade. Keep it level with the main workpiece.
- Set blade depth. Expose just enough blade to clear the material, usually one tooth beyond the thickness.
- Make a test cut. Check the angle on scrap before committing to the finished piece.
For short trim and cabinet parts, a smaller saw can be easier to control. Our
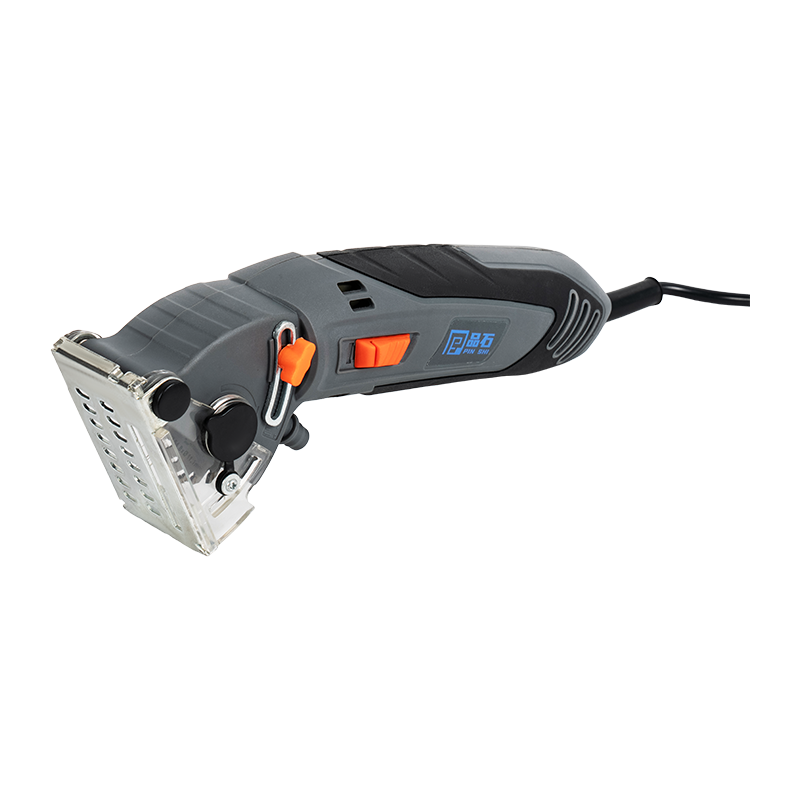 400W Mini Circular Saw for DIY CuttingA lightweight 400W saw with 0–12 mm depth adjustment and three blades for wood, metal, tile and cement, plus a dust hose.View Product →
is a good example of a lighter hand for shallow, guided cuts where control matters more than depth.
Making the Cut Without Fighting the Saw
Start with the saw off the work and the blade clear. Align the base with the guide, bring the blade to speed, and make contact gently. Use two stages: a shallow scoring pass if the material is brittle, then a full-depth pass. Let the saw do the cutting; pushing harder rarely improves the line.
Watch the offcut: if the waste piece is unsupported, it can close on the blade and cause kickback. Support it, clamp it, or cut from a position where it can fall away safely.
Keep both hands on the saw and your body to one side of the blade line. Never reach under the workpiece or remove the guard. When the cut is complete, release the trigger and let the blade stop before lifting the saw.
Safety first: wear eye protection, keep the cord clear, and check that the blade is sharp and rated for the material. A dull blade invites force, and force invites mistakes.
For remote work or quick trim repairs, a cordless saw can be a sensible companion. The
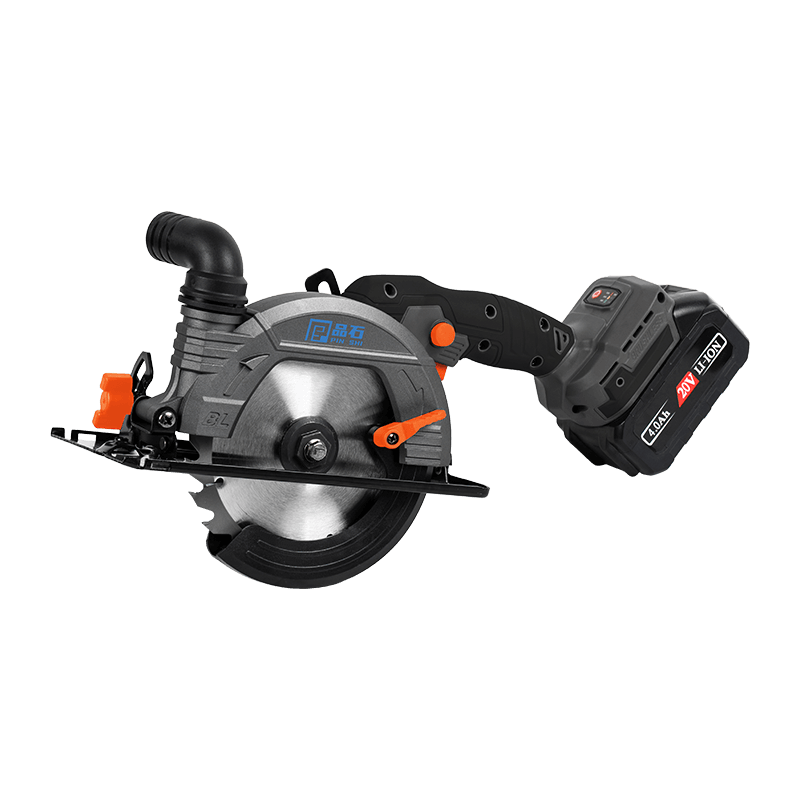 20V Brushless Cordless Circular SawA 20V brushless saw with 4800 RPM, 0–45° bevel, 0.79–2 inch depth and electric brake for framing, beveling and remote trim work.View Product →
gives you that freedom without turning a small angle cut into a major setup.
Angles Beyond 45 Degrees and Compound Cuts
Most circular saws tilt only to 45 degrees. That does not limit face miters, because the angle can be guided on the bench rather than set on the saw. If your saw scale stops at 45, do not force it past the detent. Change the guide line instead.
The 110-degree joint
A 110-degree joint needs 55 degrees on each board. Set out 55 degrees from the reference edge; if your guide references square, use the complementary 35 degrees. Mark once, check twice, and cut a scrap sample before the finished trim.
Compound cuts
Compound cuts combine a face miter with a blade bevel. They are possible with a circular saw, but the guide has to hold the saw at two angles at once. For repeated compound work, a dedicated miter saw is usually faster and more consistent. For a one-off repair, a carefully clamped guide and a test cut can get you there.
When a Miter Saw Is Still the Better Tool
We reach for a miter saw when the work is repetitive, when the stock is short and awkward to clamp, or when every joint needs to match without re-setting a guide. A miter saw also makes fine trim work more comfortable because the blade and fence do the alignment for you.
A circular saw wins when the material is large, when the work is on site, or when you need one tool to break down sheet goods and cut angles. Both paths sit inside our woodworking saw family, but the work should choose the tool, not the other way around.
A Simple Checklist Before You Cut
- Blade sharp, clean, and correct for the material.
- Base square, bevel locked, and depth set.
- Guide clamped firmly at the correct offset.
- Workpiece and offcut both supported.
- Cord clear, stance balanced, eye protection on.
- Scrap test cut checked before the finish cut.
Cheap insurance: a scrap test cut takes less than a minute. If the scrap is clean, the setup is likely clean. If it is not, you have saved the finished piece.
Final Thought: Precision Is a Setup Habit
Miter cuts with a circular saw are not a party trick. They are a normal shop skill built on a square base, a trustworthy guide, and a patient cut. The saw can be simple; the setup should not be careless.
Start with scrap, mark from the reference edge, support the offcut, and let the blade stop before you move. Do that often enough, and the circular saw becomes a precise angle tool in its own right.

-
Feedback
Related Products
-
-
Input voltage(V) 230V/120V Mains frequency (Hz) 50Hz/60Hz Input power(W) 1200W No-loading speed 4800rpm Cutting depth 45°-43mm /90°-65mm Blade diameter 185mm ...
See Details -
Input voltage(V) 230V/120V Mains frequency (Hz) 50Hz/60Hz Input power(W) 400W No-loading speed 3700rpm Cutting depth 0-12mm Blade diameter 54.8 mm Blade m...
See Details -
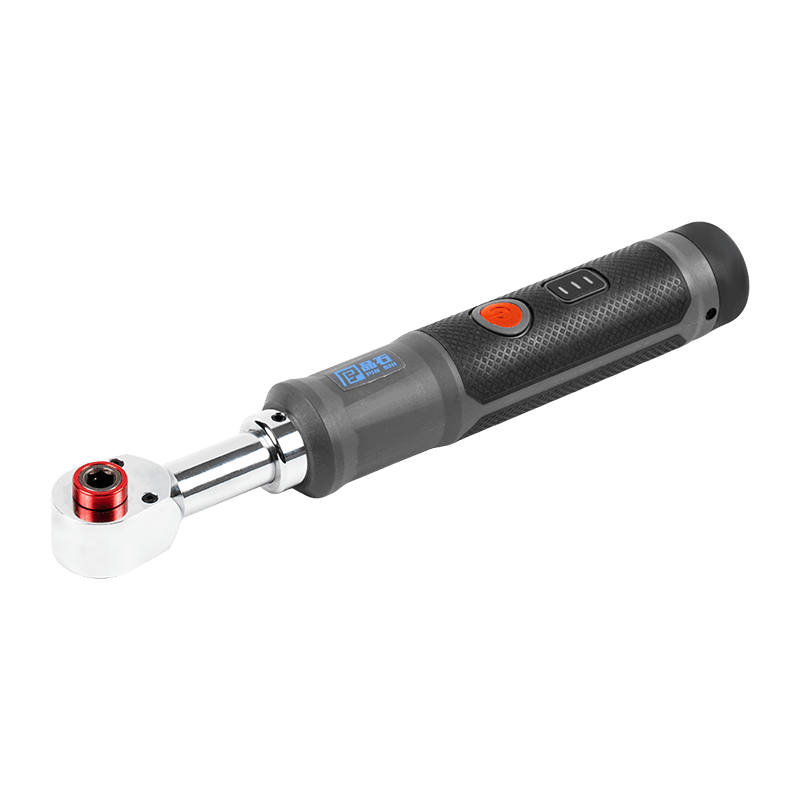
Voltage 4V (DC) Battery capacity 1.5Ah/2.0Ah Motor type Brush motor No–loading speed 380rpm Collet 1/4"Hex(6.35mm) Square drive size 1/4"(6.35mm),3/8"(9.5mm) Ma...
See Details -
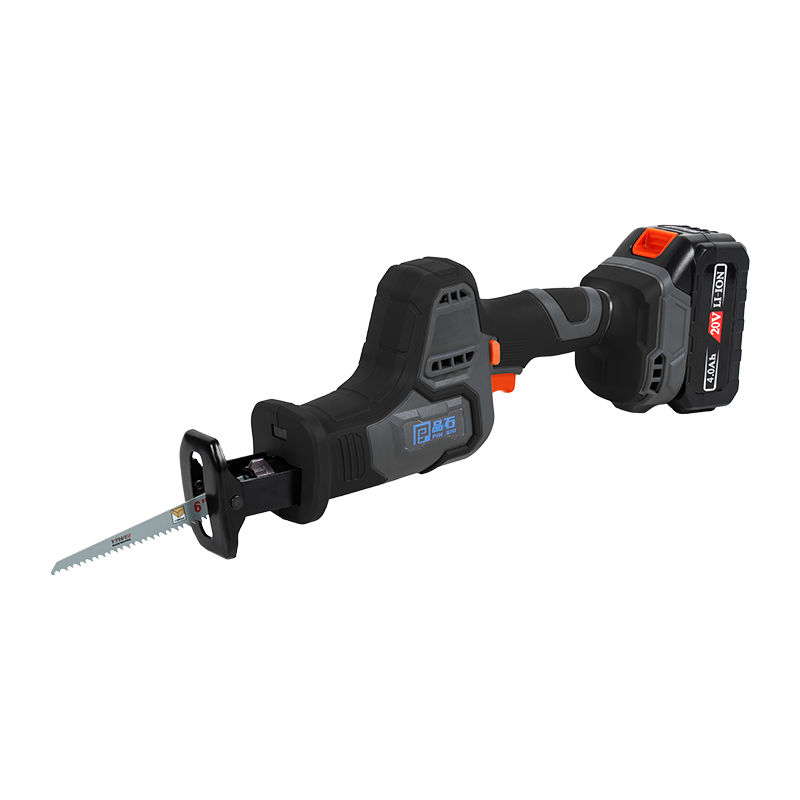
Voltage 20V (DC) Battery capacity 2.0Ah/3.0Ah Motor type Brushless motor No-loading strokes per minute 0-2600spm Reciprocating stroke 22mm Max cutting capacity ...
See Details -
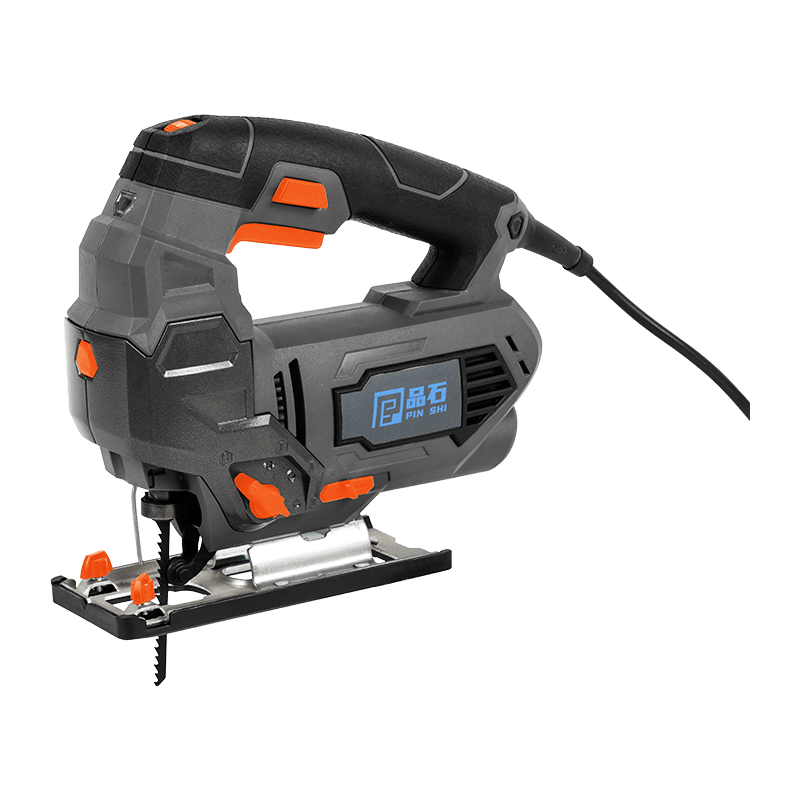
Input Voltage(V) 230V/120V Mains Frequency (Hz) 50Hz/60Hz Input Power(W) 800W No-Load Speed 0-3000/min Cutting Capacity Wood: 100mm;Steel: 10mm Plate Bevel Angle 0-...
See Details
Related News
-
In the rapidly evolving landscape of construction, automotive repair, and industrial assembly, one tool has consistently stood out as the backbone of ...
READ MORE -
What Exactly Is an Electric Screwdriver Today? The shifting meaning of "electric screwdriver" in modern tool ecosystems The term "electric screwdriver...
READ MORE -
Impact Wrench: Definition and Core Working Principle The Impact Wrench, often referred to in industrial circles as an air gun, air wrench, or electric...
READ MORE
-
LINK
-
product
-
Quick Contact
-
 Building 1, Floor 1, Industrial Zone, Zhongyi Village, Guolin Town, Haishu District, Ningbo City, Zhejiang Province, China
-
 +86-13906619096
-
 Michael@chinashimu.com
-
KEEP IN TOUCH
Copyright© Ningbo Pinshi Electromechanical Co., LTD.
