
 English
 русский
 Español
Input Voltage AC 100-240V 50-60Hz Working Voltage 24V (DC) Working Current 2A(max) Motor Type Brushless Motor No Load Speed 500 - 1350rpm Blade Material Stainless S...
See Details-
Electric Woodworking Saw
-
Multifunctional oscillating Saw
-
Power Drill
-
Rotary Hammer Drill
-
Impact Wrench
-
Electric Screwdriver
-
Angle Grinder
-
Handheld Pressure Washer
-
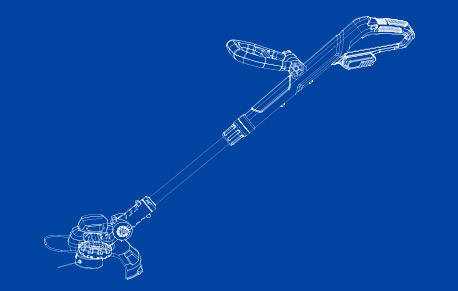
Handheld Lawn Mower
-
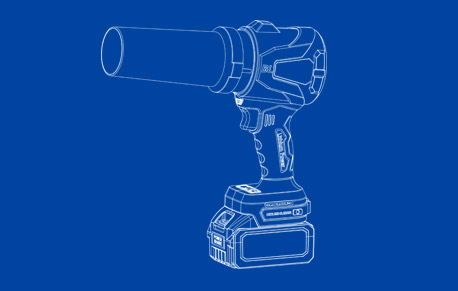
Lithium Turbo Jet Blower
-
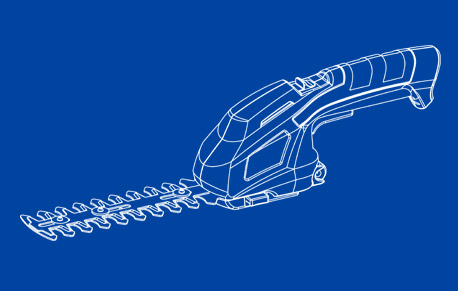
Electric Pruning Shears
-
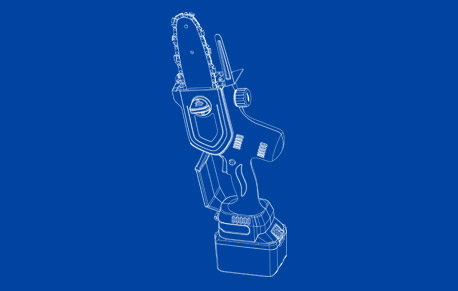
Lithium ChainSaw
-
Handheld Tiller Cultivator
-
Plant Watering Devices
-
Air Pump

Author: Admin Date: 2026-08-10
How to Use an Electric Drill: Step-by-Step Guide for Beginners and DIYers
Most first-time drill users make the same mistake: they squeeze the trigger, push hard, and wonder why the bit wanders across the surface or why the screw strips halfway in. The drill is not a brute-force tool. It is a precision instrument that rewards a small amount of technique. Once you understand its handful of controls and the logic behind them, you can drill clean holes in wood, metal, and masonry, and drive screws without stripping their heads. This guide walks through every step in the order that matters, starting with the parts you need to know and ending with practical tips for common jobs.
Understand the Key Parts of an Electric Drill Before You Start
An electric drill looks more complicated than it is. Every model, whether corded or cordless, shares the same core components. Your goal is not to memorise a diagram but to recognise what each control does and when you will need it.
Chuck and Chuck Key
The chuck is the three-jawed clamp at the front that holds the drill bit. On most modern drills, you tighten it by hand: grip the chuck, turn it clockwise to close the jaws, and counterclockwise to open them. Some larger or older models use a chuck key, a small geared tool that gives you more clamping force. If your drill has a keyless chuck, hold the rear section steady and rotate the front section to secure the bit. If it has a keyed chuck, insert the key into one of the side holes and turn it to tighten or loosen.
Trigger and Speed Control
The trigger is not just an on-off switch. It is variable-speed: the harder you squeeze, the faster the chuck spins. This is important for control. When you start a hole or a screw, use a gentle squeeze, let the bit bite, then increase speed. Drilling at full speed from the moment the bit touches the surface is the fastest way to burn a bit and ruin a workpiece.
Forward and Reverse Switch
Located just above the trigger, this switch changes the rotation direction. Forward (usually marked with an arrow pointing toward the chuck) drives the bit clockwise for drilling holes and driving screws in. Reverse spins it counterclockwise for removing screws or backing a stuck bit out of a hole. Get into the habit of checking this switch before every job. It is the most common reason a "broken" drill is actually working perfectly fine.
Clutch (Torque Adjustment) Collar
This is the numbered ring behind the chuck. It controls how much resistance the chuck will overcome before it clicks and stops turning. Low numbers deliver low torque, ideal for small screws and soft materials. High numbers deliver maximum torque, needed for large drill bits and tough materials. The drill icon on the collar means the clutch is disengaged, so the drill delivers full power — use that position for drilling, not for driving screws.
Mode Selector and Gear Selector
If your drill has a separate mode switch, it toggles between "drill," "drive," and sometimes "hammer" mode. The gear selector, often numbered 1 and 2, changes the gear ratio: gear 1 gives low speed and high torque, gear 2 gives high speed and low torque. A good rule is: use gear 1 for screws and large holes in metal, gear 2 for wood drilling and general-purpose work. For masonry, you need a hammer or impact function, which we will cover in a dedicated section below.
Choose the Right Drill Bit for the Material
Using the wrong bit is the root of most drilling problems — burnt tips, wandering holes, cracked material, and wasted time. Match the bit to the material, not to the drill. The physical connection between the bit and the chuck is standardised, so any drill can accept any bit shape that fits. What changes is the cutting geometry.
| Material | Bit type | What to look for |
|---|---|---|
| Wood | Twist bit, spade bit, Forstner bit | Sharp point for precise starting; spade and Forstner bits for larger holes |
| Metal | High-speed steel (HSS) twist bit | Cobalt or titanium-coated variants for harder alloys; use cutting fluid for deep holes |
| Masonry | Carbide-tipped masonry bit | Flat carbide tip with a flute designed for hammer drilling |
| Tile or glass | Carbide spear-point or diamond-core bit | Use low speed and light pressure; do not use hammer mode |
Check the bit shank before inserting it. Most drill bits for DIY use have a round shank that fits a standard chuck. Hex-shank bits are common in impact drivers and typically click into a quick-release chuck. If the bit wobbles after you tighten the chuck, reseat it and tighten again — a loose bit causes oversized holes and uneven wear.
How to Install and Remove a Drill Bit Correctly
Bit changes should take less than ten seconds once practiced. The biggest beginner mistake is forcing the chuck closed on an off-centre bit. Follow the order below and you will avoid most chuck-related frustration.
- Make sure the drill is switched off and the battery is removed (or the cord is unplugged) before you touch the chuck.
- Open the chuck jaws wide enough to accept the bit shank, usually by rotating the chuck counterclockwise as you hold the rear section.
- Insert the bit fully into the jaws, so the shank is seated deep enough for the jaws to grip at least half its length.
- Tighten the chuck clockwise by hand until the jaws grip securely. Pull on the bit lightly to confirm it will not slip out.
- To remove the bit, open the chuck jaws counterclockwise until the bit drops free. Never use pliers on the chuck to force it open.
How to Drill a Hole: Step-by-Step Technique
Drilling a clean, straight hole comes down to preparation, positioning, and pressure control. Nothing else matters if you skip the pilot hole or hold the drill at an angle.
Mark the Spot and Use a Pilot Hole
Mark the centre of your hole with a pencil and a centre punch (for metal) or an awl (for wood). A punch mark gives the bit a physical seat so it will not skid across the surface. For holes larger than 6 mm in metal, start with a small bit, about 3 mm, then follow with the full-size bit. Pilot holes reduce torque load and prevent the bit from wandering.
Set the Speed and Torque Correctly
For a cordless drill, set the gear to 2 for wood and to 1 for metal or when you need high torque. In wood, start at low speed to establish the hole, then increase. In metal, always use low speed and firm, even pressure. High speed on metal generates heat that quickly dulls HSS bits. For masonry, switch the drill to hammer mode — the impact action is what breaks the concrete, not rotation alone. A regular 20V rotary hammer drill is the right tool for concrete; using a standard drill with a masonry bit will take much longer and may overload the motor.
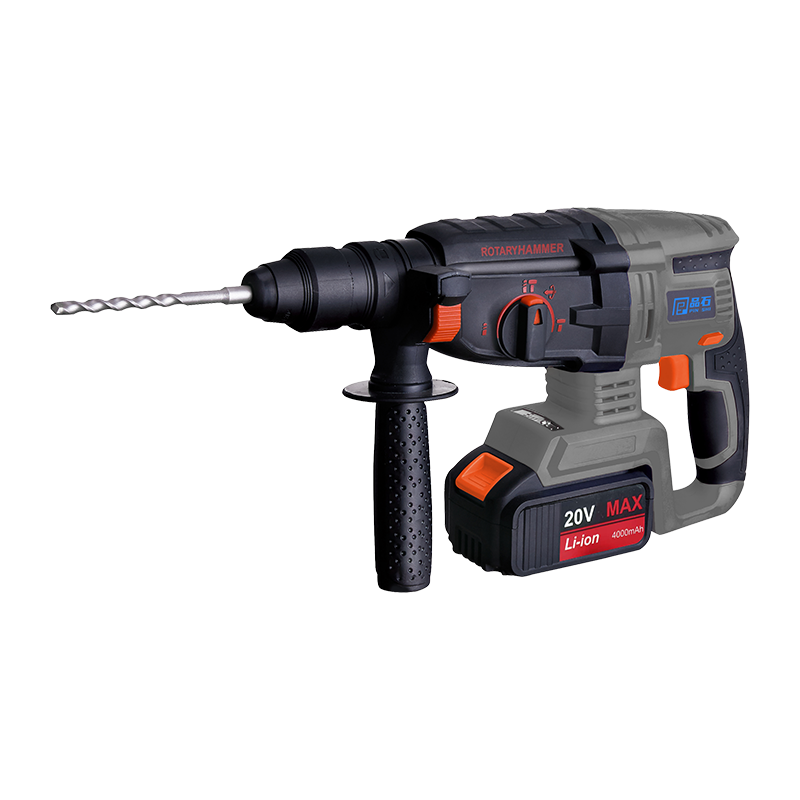 Wholesale 20V Cordless Electric Rotary Hammer Drill Suppliers, Factory - Ningbo Ningbo Pinshi Electromechanical Co., Ltd. is China wholesale 20V Cordless Electric Rotary Hammer Drill suppliers and factory, Voltage ...View Product →
Hold the Drill Square to the Workpiece
Line up the drill so it is perpendicular to the surface in both the left-right and front-back planes. Start the hole with light pressure, then increase once the bit has fully engaged. Let the drill do the work — pushing harder than necessary does not speed up the cut, it just breaks bits and leaves rough holes. As you near the back face, ease off the pressure to avoid splintering the exit edge.
Clear Chips Frequently
For deep holes, withdraw the bit partway every few seconds to clear sawdust or metal chips. Chips that stay in the flute increase friction, overheat the tip, and make the bit bind. If you are drilling metal, apply a drop of cutting oil to keep the bit cool and the cut smooth.
How to Drive Screws with the Same Drill
Driving screws is different from drilling because you are working against a fastener that needs controlled torque, not maximum power. The clutch collar is your main ally. Set it to a low number, around 3 to 5, and drive a test screw into a scrap piece. If the clutch clicks before the screw head is flush, increase the number by one and try again. If the screw head sinks too deep or the material starts to tear, lower the number. A well-adjusted clutch will "click" exactly when the screw is seated, preventing stripped heads and damaged workpieces.
Screw driving also demands a straight approach. If the screw tilts, the bit can slip out of the drive recess and chew up the head. Start the screw with the drill in gear 1, at low speed, and hold the bit firmly seated in the screw. Once the screw is threaded a few turns, you can speed up. For long screws or dense hardwood, consider drilling a pilot hole about the same diameter as the screw's core (not its threads) to reduce resistance.
Common Mistakes and How to Avoid Them
Skipping the Clutch When Driving Screws
The clutch exists for a reason. Leaving it in drill mode while driving screws will overdrive every fastener, strip the head, or embed the screw too deep. It is the single most useful feature on a modern drill for anyone who assembles furniture or hangs fixtures.
Using Full Speed for Every Job
Full speed is appropriate for drilling small holes in wood, and almost nothing else. Screws, metal drilling, tile, glass, and countersinking all require lower speed. Read the material before you set the speed.
Forcing the Bit
A sharp bit should cut with moderate pressure. If you are leaning your weight into the drill, something is wrong: the bit is dull, the speed is too high, or the bit type does not match the material. Stop and correct the problem rather than pressing harder.
Ignoring the Workpiece Clamp
For small workpieces, especially metal and small pieces of wood, clamp the material down whenever possible. A drill can grab and spin the workpiece, which pulls your hand into the bit or slams the piece against the bench. One hand on the drill, one hand steadying the work, and the work itself clamped is the safest combination.
Forgetting to Charge the Battery
A cordless drill that stalls mid-hole is a charging problem, not a drilling problem. If you use your drill frequently, keep a spare battery ready, and charge the spare before it completely depletes. For heavy projects, consider a model that ships with two 20V brushless impact drills or a double-pack so you can rotate batteries.
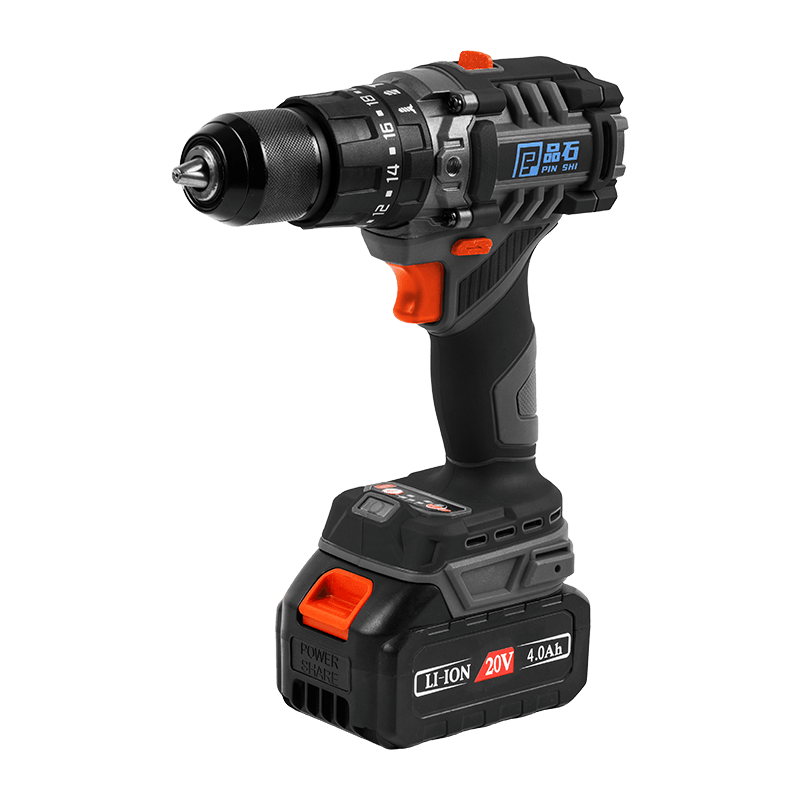 Wholesale 20V Brushless Impact Drill Suppliers, Factory - Ningbo Pinshi ElectromNingbo Pinshi Electromechanical Co., Ltd. is China wholesale 20V Brushless Impact Drill suppliers and factory, With pulse and anti-twi...View Product →
Safety Checks Before Every Drilling Session
Safety with a drill is a matter of small, consistent habits rather than dramatic precautions. You are working with a rotating cutting tool that can grab, chip, or break, so a two-second check at the start of each job keeps the whole session clean.
- Wear safety glasses to protect your eyes from flying chips, metal filings, and dust.
- Remove jewellery, roll up loose sleeves, and tie back long hair before you pick up the drill.
- Check that the bit is sharp and free of cracks. A cracked bit can shatter under load.
- Unplug corded drills or remove the battery whenever you change bits, adjust the chuck, or walk away from the workbench.
- Keep both hands on the drill body, never on the chuck, to avoid injury if the bit binds.
- Never wear gloves while drilling metal or masonry, because a caught glove can draw your hand into the rotating bit.
Your choice of drill also affects what you can do safely and consistently. A lightweight 8V or 12V model is fine for driving screws and drilling small holes, while a 16V cordless drill offers a good balance of power and weight for general DIY work. If you regularly drill brick or concrete, a dedicated rotary hammer drill with SDS or hex shank capability is far safer and more efficient than forcing a standard drill to do the same job.
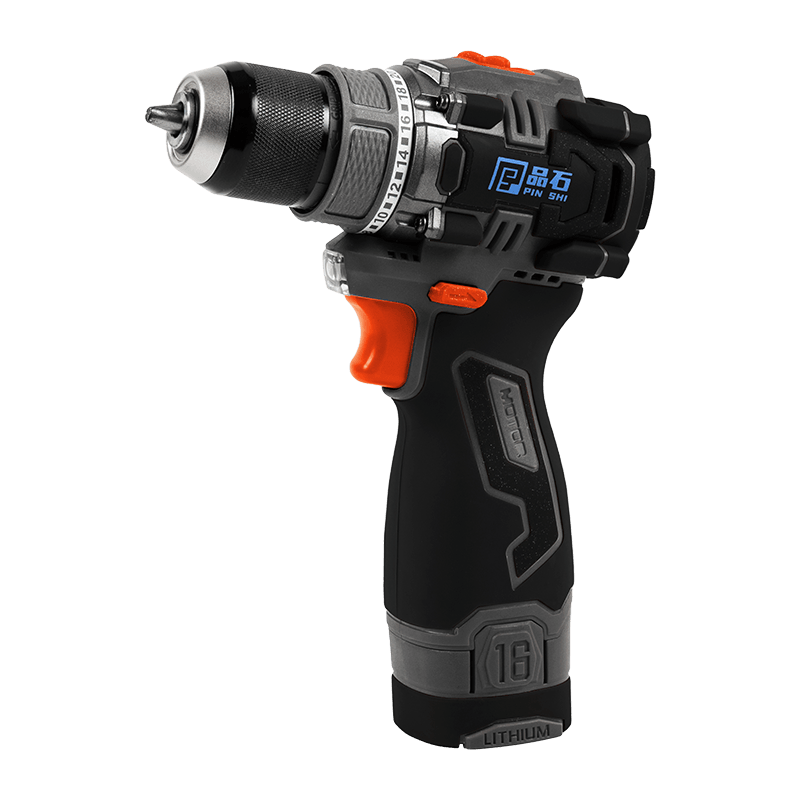 Wholesale 16V Cordless Drill Suppliers, Factory - Ningbo Pinshi ElectromechanicaNingbo Pinshi Electromechanical Co., Ltd. is China wholesale 16V Cordless Drill suppliers and factory, Voltage 16V (DC) Battery ...View Product →
Match the Drill to the Job
Not every task needs the same drill. If you expect to use your drill for a specific range of jobs, that intended use should shape your choice. Driving hundreds of screws a week calls for an impact driver or a drill with a strong clutch system. Occasional furniture assembly and a few shelf holes are fine with any basic cordless drill. Renovation work in concrete and masonry requires a rotary hammer or an SDS drill. For light use around the home, a compact cordless drill with a single speed and a 10mm chuck will be easier to handle and store than a professional hammer drill that you will rarely use at full capacity. The right match between tool and task is what keeps the work accurate and your hands comfortable.
Maintain Your Drill for Consistent Results
A quick wipe-down after use, a dry storage spot, and a charged battery are the entire maintenance plan for most drills. Clean debris from the chuck jaws and the ventilation slots, because dust is what wears out the motor and the clutch mechanism over time. Apply a light silicone grease to the chuck jaws occasionally if they start to feel stiff, but never lubricate the motor area. Store bits in a labelled case so you are not digging for the right size mid-project. If you use a battery-powered drill, avoid storing the battery fully drained or fully charged for long periods — most lithium batteries perform best between 20% and 80% charge for long-term storage. As for the tools themselves, the power tool industry has been steadily moving toward higher-voltage brushless platforms, which improve runtime and service life from the same battery size. If you are just starting your tool kit, a 20V brushless drill puts you on a platform that stays relevant for years and supports a whole range of compatible tools, which you can explore further in our power tool range and related industry insights on smart, cordless power tool development trends.

-
Feedback
Related Products
-
-

Voltage 20V(DC) Battery capacity 3.0Ah/4.0Ah Motor type Brushless motor Modes 3 Impact energy 3.0J No-loading speed 0-1000rpm Impact rate 0-4500bpm Chuck...
See Details -
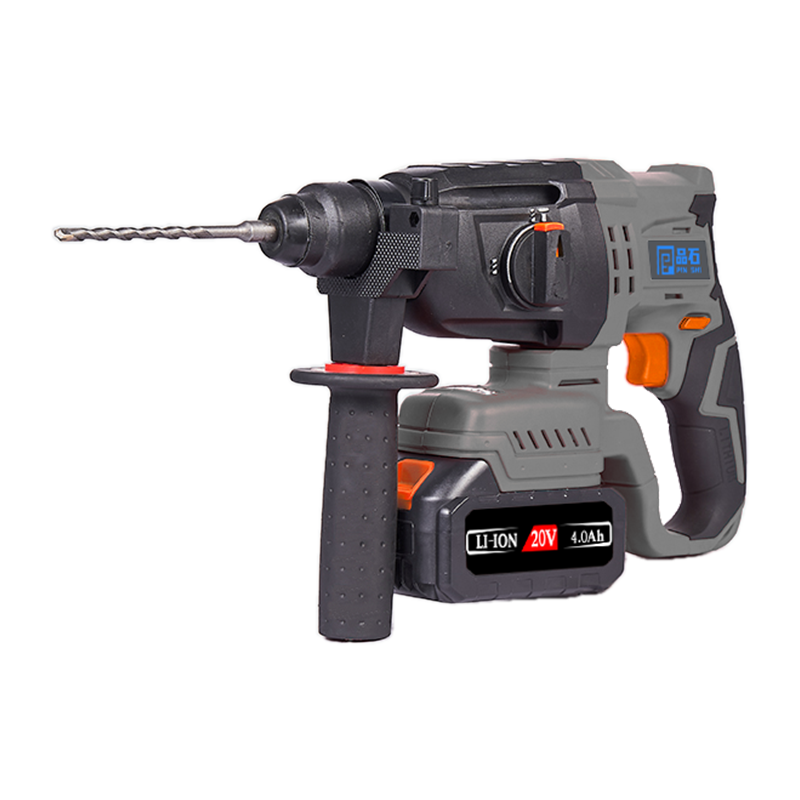
Voltage 20V (DC) Battery capacity 3.0Ah/4.0Ah Motor type Brushless motor Modes 2 Impact energy 1.7J No-loading speed 0-1000rpm Impact rate 0-4500bpm Chuck...
See Details -
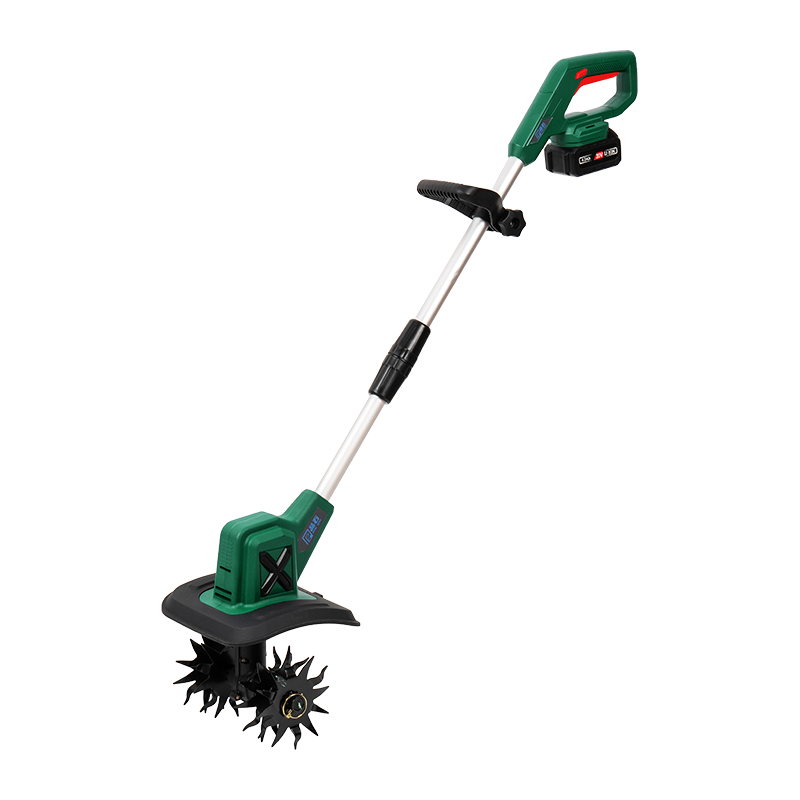
Voltage 20V (DC) Battery capacity 2.0Ah/3.0Ah/4.0Ah Motor type Brush motor No-loading speed 300rpm Ploughing width 8.6"(220mm) Tilling depth 6.3"(160mm) Fold...
See Details -
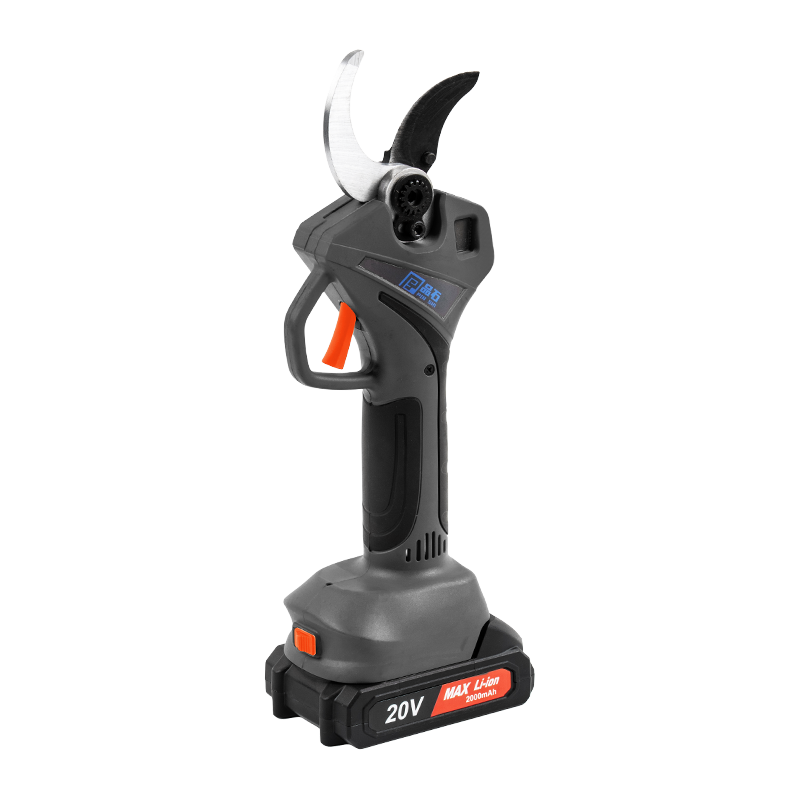
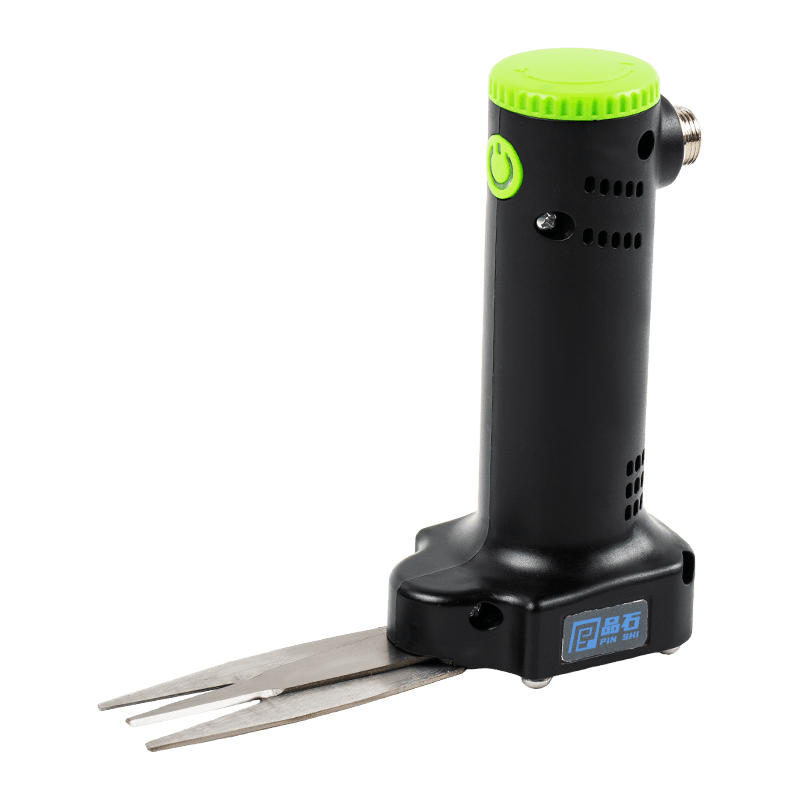
Voltage 20V (DC) Battery capacity 2.0Ah/3.0Ah/4.0Ah Motor type Brushless motor Shear diameter 40mm Charger 21V 0.5A/1.2A/2A Blade material SK5 Time of use 4-5...
See Details -

Voltage 16V (DC) Battery capacity 1.5Ah /2.0Ah Motor type Brushless motor Two speed 0-430rpm/0-1800rpm Chuck capacity 10mm Max. Drill capacity 10mm(Steel)20mm(Wood)...
See Details
Related News
-
In the rapidly evolving landscape of construction, automotive repair, and industrial assembly, one tool has consistently stood out as the backbone of ...
READ MORE -
What Exactly Is an Electric Screwdriver Today? The shifting meaning of "electric screwdriver" in modern tool ecosystems The term "electric screwdriver...
READ MORE -
Impact Wrench: Definition and Core Working Principle The Impact Wrench, often referred to in industrial circles as an air gun, air wrench, or electric...
READ MORE
-
LINK
-
product
-
Quick Contact
-
 Building 1, Floor 1, Industrial Zone, Zhongyi Village, Guolin Town, Haishu District, Ningbo City, Zhejiang Province, China
 -
 +86-13906619096
 -
 Michael@chinashimu.com
-
KEEP IN TOUCH
Copyright© Ningbo Pinshi Electromechanical Co., LTD.
